 |
| Flamingo Toes |
I hit my favorite junk store first (Class n' Trash on South Main St)...there I found

Luckily they know me there so it wasn't a big deal to take over the floor like that (thanks Diane & Mike). I ended up with these..pretty nice, huh?

The amazing thing (at least to me) was that their spoon & fork collection was
So now that I had all my utensils ready..I cut out my cardboard circles...I went the "el cheapo" route like Bev did..I figured, if it worked for her, it would work for me! Silly naive girl!


Bev & I both cut out two circles and hot glued them together. I also added masking tape around the edges, so that the edges would look cleaner.
Next I had to choose a layout for my utensils

I numbered them so that when I took them off, I'd know which order they went in..I'm
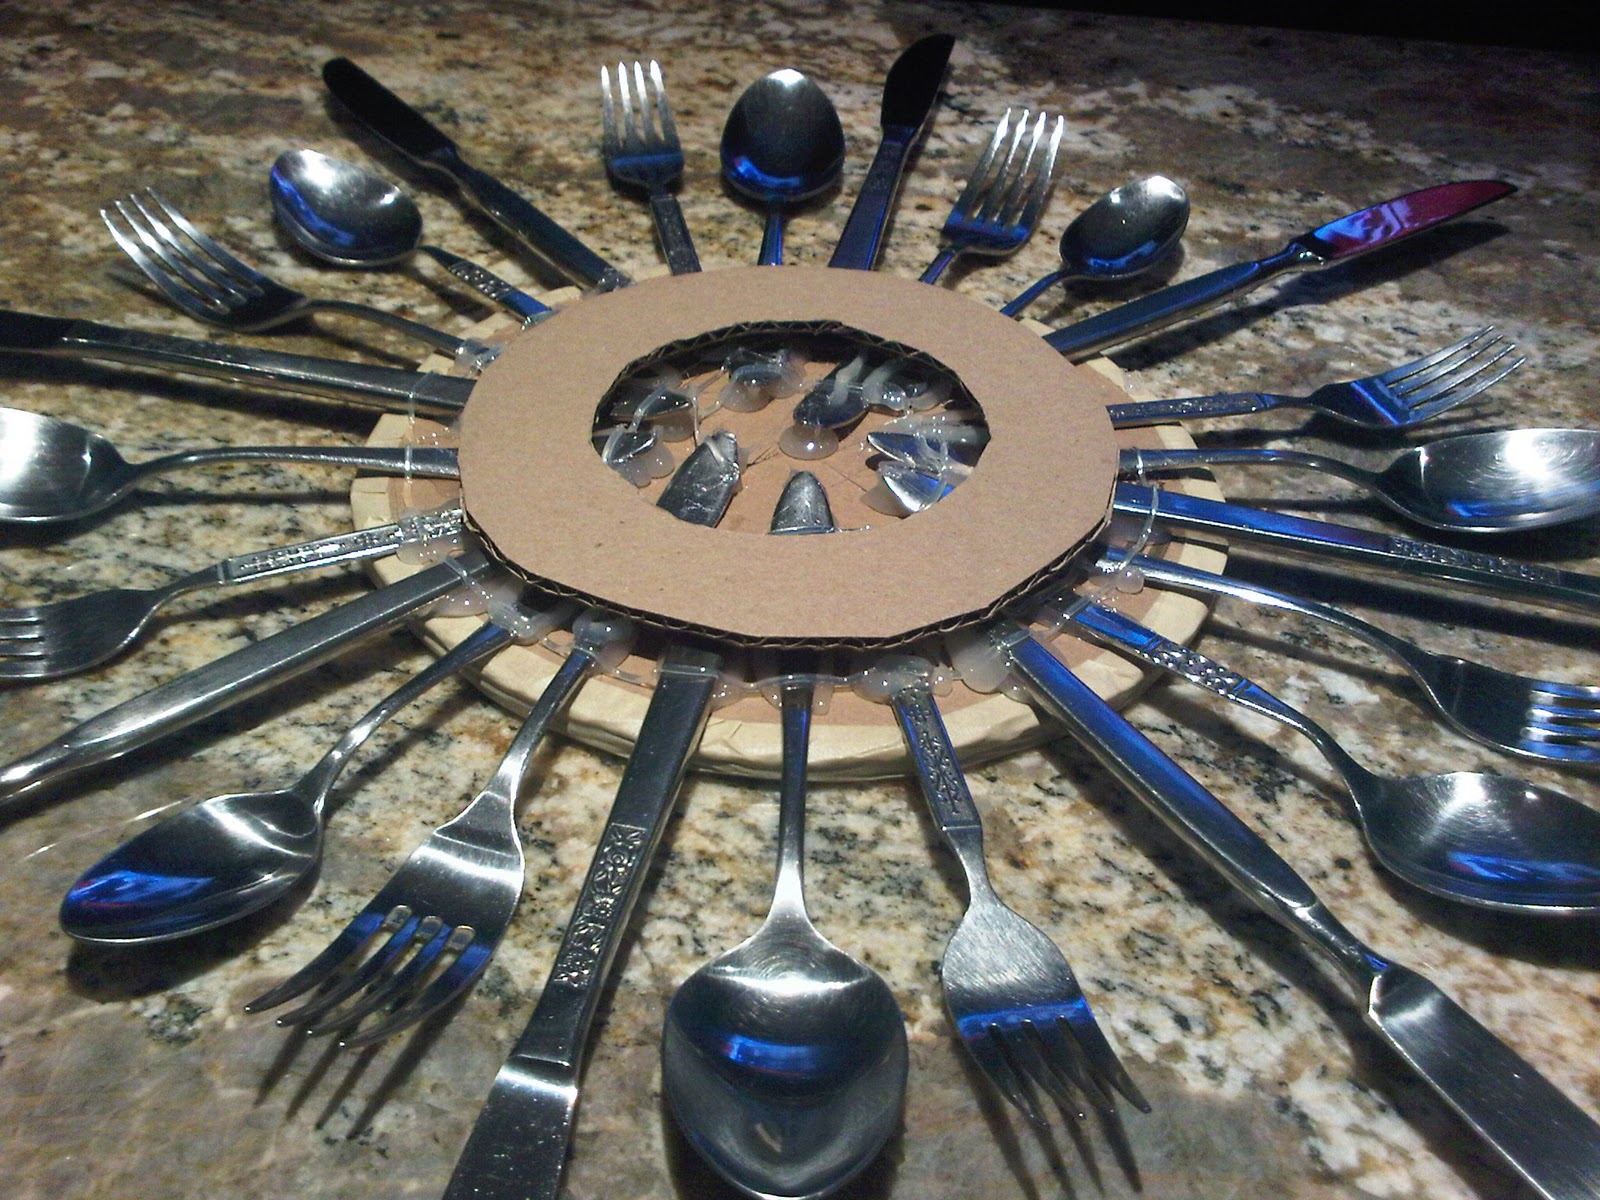
Anyway, once you figure out what pattern you like..start hot gluing them down...

and when you're done with that...add more glue..no, no...way more than that! We're talking MEGA glue!

Nice, huh? Yeah, I know..it looks yucky, but it won't for long....
Now, here's where I deviated from Bev's startburst design. Instead of putting a plate and mirror in the center, I wanted a monogram. After reading House of Hepworths 's blog and seeing all her wonderful "H" monograms, I realized that my new initial (the very wonderful Z) didn't get its fair share of the spotlight, so I wanted a white Z on a black background...
I printed out the Z I wanted from my computer and made a stencil


I printed it out on cardstock & taped the back of the paper with masking tape to make it a bit sturdier

All I had to do know was put the stencil over my painted wooden circle & paint over it with white paint


Now if you're impatient like me, the paint will smear when you lift off the stencil..I suggest you wait until the paint is dry. Learn from me people...
This is what it looked like when it finally dried

I sealed it with Mod Podge

Those lines dry clear, no worries.
I placed my monogram on the utensils and got ready to glue it down. It should have looked like this

Did you notice I used the word should? Well, that's because it didn't work. The utensils had stayed glued at different heights so it was an uneven surface. After thinking on it a bit, I channeled MacGyver and came up with the idea to cut out an inner circle to even things out.
I think Richard Dean Anderson would be proud! So I glued that down and added more glue for my monogram...
FAIL..epic FAIL!! Apparently the "wood" that the monogram circle was made of didn't get along well with hot glue..what?? I though hot glue was the
What to do now?? Well, no turning back...the next day I went back to Class n' Trash & picked out a plate

This one was made of metal. I taped off the rim because it had a nice silver edge & I didn't want to spray paint over it. Instead of black I chose Oil Rubbed Bronze by Rust-oleum

That little wire thing is the plate hanger that I also sprayed because I don't like that you can see them against the plate once they are hung.
After the drying time, I stenciled my Z again.

and again, I pulled the stencil off too early so it got a bit
And I will admit I glued the plate onto the base before it was dry. I had already smudged it so I figured oh well...After all the set backs, I wanted this sucker up on my wall already...
and here it is...

I think it looks better than the wooden one, no?
Have you ever had an "epic fail" turn into a "better than the original"??
Oh, and in case you're wondering...this whole project only set me back
~Bernadette

Linking To:
I love it! I love the monogram. I love the silverware. I just love all of it.
ReplyDeleteAWESOME !!!
ReplyDeleteVery cute project and great tutorial--connie, measuredbytheheart.blogspot.com
ReplyDeleteThanks for the link Bernadette! I really like your sunburst plate - the initial is a really cute idea!
ReplyDeleteThanks for linking it up to Think Pink Sundays!! :)
I LOVE IT!!! I think I can manage to make this :) We'll see! :)
ReplyDeletewww.lifewithoutwhiteout.blogspot.com
Great idea! Thanks for sharing!
ReplyDelete